Diamond painting should be relaxed and artistic, but in some cases, it can become a frustrating nightmare of missing drills, sticky fingers, and eye strain.
Maybe you have begun working on a custom piece and found yourself partway through that you are no longer satisfied with your pen, or your drills are not in the right places. Such minor hiccups transform a leisurely activity into an irritating one.
That is why ensuring that your custom diamond painting setup is exactly the way you want it is not a luxury; it is essential.
The good news? You can change your painting style entirely with the help of a few smart tools.
So, let us walk through a list of five must-haves that will refine and streamline your diamond-painting process and make your next project easier, quicker, and fun.
1. Multi-Drill Applicator Pen
The conventional single-tip pen would probably suffice when you are simply testing the waters. However, when you get into a larger or more involved custom project, having to place one drill at a time becomes tedious. And particularly when you have invested in a personalized diamond painting kit from a reputable seller, why not get the tools it warrants?
This is where a multi-drill applicator pen enters the scene and turns the game.
These are ingenious pens that allow you to lift up and replace 3, 6, or even 9 drills at a time, making it ideal to use on large blocks of color. It not only makes you advance more quickly but also leads to the preservation of straighter lines and diminished hand strain.
Most of them come with soft grips or ergonomic designs, so that long painting sessions remain pleasant and comfortable. And with interchangeable tips, you can switch from single to multi-placers to fit every part of your canvas.
2. Adjustable LED Light Pad
If you’ve ever struggled to read the tiny symbols on your canvas, especially in low light or with darker backgrounds, then this tool is going to be a game-changer.
An adjustable LED light pad slips right underneath your canvas and illuminates the design from below. This makes all those symbols pop, reduces eye strain, and helps prevent mistakes, something that’s particularly helpful when working with custom images where detail matters.
Look for a model with adjustable brightness, USB charging, and a thin, lightweight frame. That way, it’s easy to use and store, even if your workspace is limited.
3. Diamond Drill Organizer Box
Let’s be honest, those tiny resealable plastic bags just don’t cut it. When you’re juggling 30+ colors for a custom diamond painting, you need serious organization.
A drill storage organizer with individual jars is the ideal solution. These kits usually include 30â60 screw-lid containers inside a compact, portable case. They keep your drills secure, separated, and easy to access, no more digging through identical bags or spilling them across the floor.
What really brings it all together is labeling. Use stickers with DMC codes so you can identify each color instantly. It not only speeds up your workflow but keeps your entire setup visually clean and functional.
4. High-Quality Wax or Putty
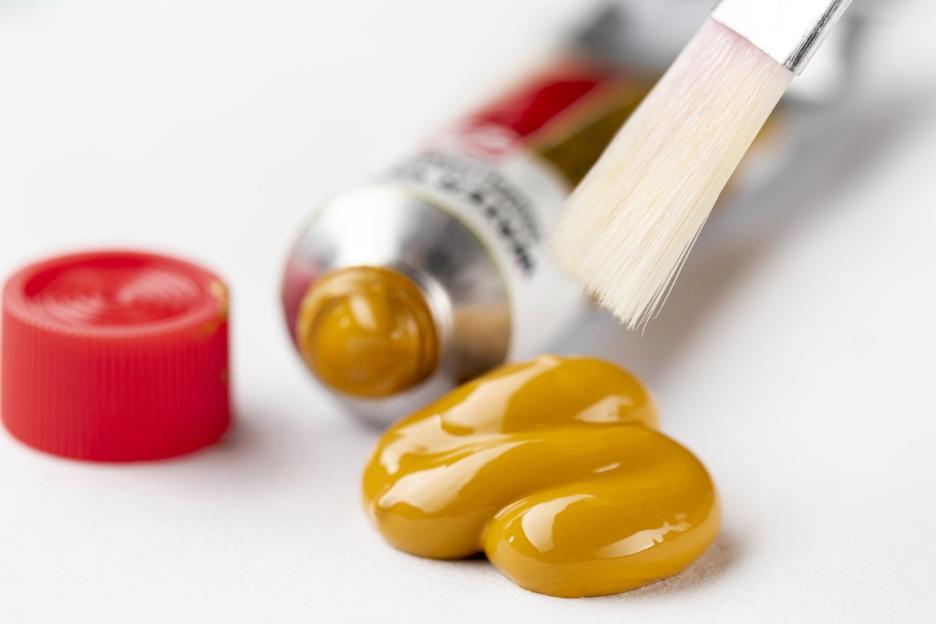
Most diamond painting kits come with a little pink wax square, but anyone who’s been painting for a while knows it doesn’t last long. It loses its stickiness, leaves residue, and doesn’t always hold drills securely.
Upgrade to clear tack, reusable putty, or scented wax pads. These products hold up longer, offer better grip, and create a smoother experience overall. Some wax alternatives are even infused with fragrance, making your painting time feel even more special.
Keep a few backups on hand so you’re never stuck mid-project with a non-sticky pen. It’s a small change that has a surprisingly big impact.
5. Canvas Roller or Brayer
Once your drills are placed, they need a little help to stay put. A canvas roller, also called a brayer, gently presses the drills into the adhesive layer, making sure they’re fully secured.
This is especially useful for custom paintings, where detail and durability matter most. It also prevents drills from popping off later, especially if your painting will be framed or displayed. The roller provides even pressure without damaging the surface, locking your design into place.
For extra security, you can place parchment paper over the finished sections and weigh it down with a book overnight. This gives the adhesive time to fully bond with the drills.
Tips to Elevate Your Setup
While these five tools form the foundation of a great diamond painting setup, a few small extras can make your experience even better:
- Anti-static trays: Prevent drills from sticking to everything but your pen.
- Tweezers: Perfect for repositioning misplaced drills or fixing mistakes.
- Foldable easel: Keeps your canvas at a comfortable angle, reducing neck strain.
Setting up your space with these thoughtful additions can transform your painting sessions into a peaceful and productive part of your routine.
Wrapping Up
Custom diamond painting is more than just a hobby; it’s a creative outlet that deserves the right tools. With a smart, organized setup, your sessions can feel less like a chore and more like the soothing, rewarding escape they’re meant to be.
So, whether you’re working on a photo of your pet, a scenic view, or a completely original design, these five essential tools will help you bring every tiny gem to life, flawlessly and joyfully.
Take the time to upgrade your toolkit, and your next diamond painting will shine brighter than ever, both literally and figuratively.
